


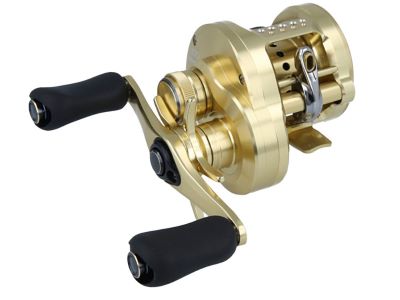
 Baitcasting Reel


[Avail] SHIMANO Microcast Brake for 21 CALCUTTA CONQUEST 100/101 [21CNQ]
![Photo1: [Avail] SHIMANO Microcast Brake for 21 CALCUTTA CONQUEST 100/101 [21CNQ]](https://www.hedgehog-studio.co.jp/data/hedgehog-studio/product/20240507_914812.jpg)
Model
Microcast Brake 21CNQ
Weight
4.9g
Description
Microcast Spool 21 CNQ dedicated magnet brake. (Cannot be attached to genuine spool)
If you want to cast a lighter lure, the combination of PE line and magnetic brake is recommended.
Compatibility
24 CALCUTTA CONQUEST SHALLOW EDITION HG30/31
21 CALCUTTA CONQUEST 100/101/100HG/101HG
Instructions
Please check before you start working.
This product has a brake unit, 4 magnets(4x3), and Avail's original palming pin.
(Metal parts on the right side of the image) Contains one.
Four magnets can be added, and a total of eight magnets can be attached.
A precision screwdriver and a small monkey wrench are required for work.
Please prepare before work.
Now, let's install the magnet brake on the 21 CALCUTTA CONQUEST 100.
* Please note that all custom work is at your own risk.
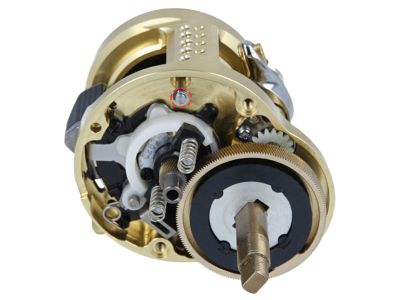
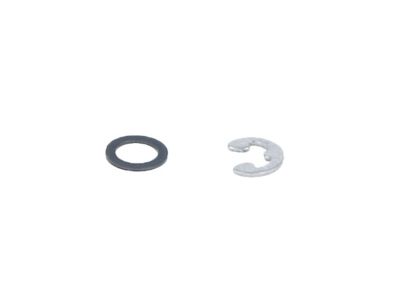
After removing the genuine spool, remove the E-shaped stopper ring (red circle) and washer on the A group side of the main body.
The removed E-shaped retaining wheel and washer are not used when using the magnet brake.
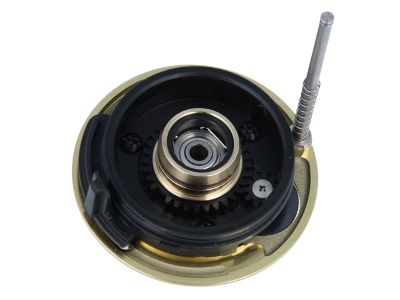
Body B can be removed.

After removing the main body B, remove the damper spring attached to the shaft, use a monkey wrench to pinch the base of the shaft with a wrench, and remove the shaft.
(Pinch the flat part of the red circle with a wrench)
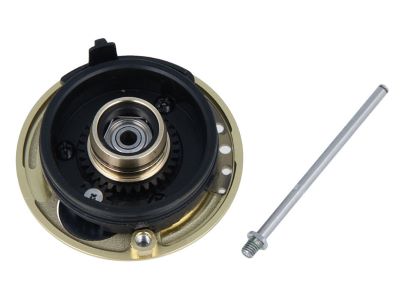
The shaft could be removed.
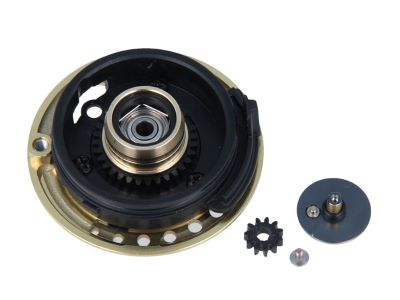
After removing the shaft, remove the fixing bolts and remove the brake dial gear and brake dial set.
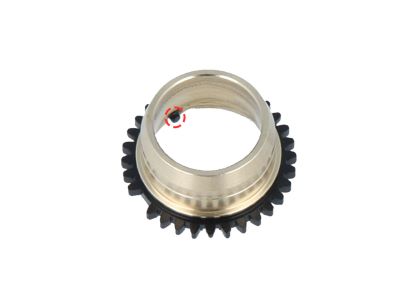
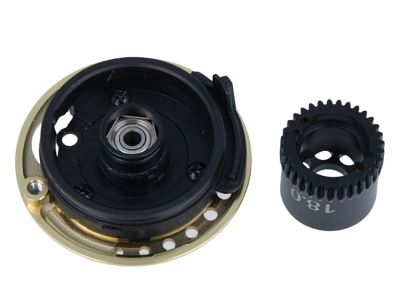
Rotate and remove the golden brake pipe gear set and replace it with a special magnet.
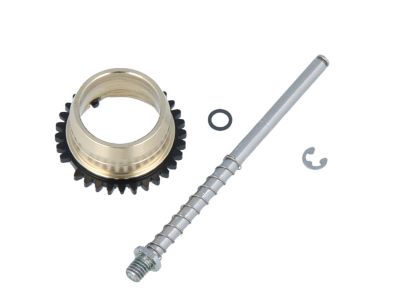
The removed brake pipe gear set (golden parts) is not used when using magnet brakes.
Please keep it so that you do not lose it as you will need it when using it with a centrifugal brake.
* The brake pipe gear set has two claws in the red circle.
Please note that forcibly removing it may cause the claws to break or the brake pipe gear assembly to be damaged.
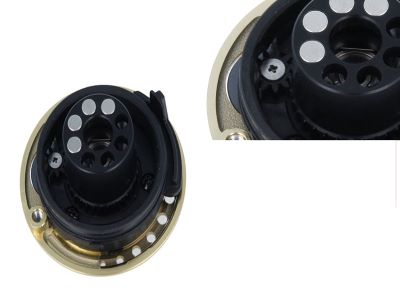
Align the dowel on the back of the brake unit with the slope-shaped notch on the frame B receiving set and fit it.
Then rotate the brake unit and push it all the way in.
Rotate the brake unit slightly and adjust so that the jagged edges fit together comfortably.
Return the brake dial set and brake dial gear, and fix them with the fixing bolts.
* Please note that if the fixing bolts are tightened too much, the threads in the shaft will be crushed.
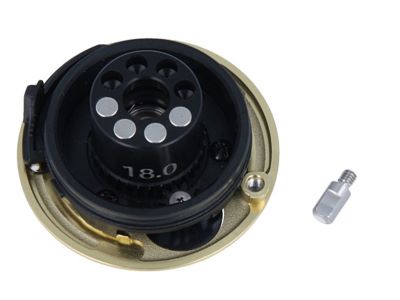
Finally, attach the attached palming pin instead of the genuine shaft and the assembly is completed.
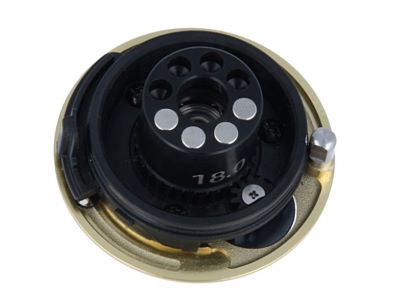
It looks like this when the pin is attached.
Please keep the parts removed in this work so that they will not be lost as they will be needed when using the centrifugal brake.
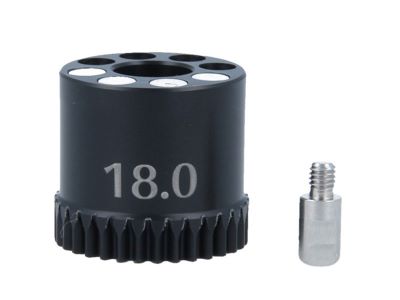
![[Avail] SHIMANO Microcast Spool for 21 CALCUTTA CONQUEST 100/101 [21CNQ18R, 21CNQ36R]](https://www.hedgehog-studio.co.jp/data/hedgehog-studio/_/70726f647563742f32303232303331365f6236366137632e6a7067003230300000660066.jpg)
![[Avail] SHIMANO NEW SVS Infinity Puller (for 21 CALCUTTA CONQUEST 100/101, 20-16 Metanium MGL, 18 Bantam MGL, 16 Scorpion 70, 17 CHRONARCH MGL, etc.)](https://www.hedgehog-studio.co.jp/data/hedgehog-studio/_/70726f647563742f32303232303230335f6638653131662e6a7067003230300000660066.jpg)