







































































 Baitcasting Reel






[Abu] Level Wind Cap [REV] Black
![Photo1: [Abu] Level Wind Cap [REV] Black](https://www.hedgehog-studio.co.jp/data/hedgehog-studio/product/20150531_ce1887.jpg)

| Product Concept
* The design may differ slightly depending on the production lot.
A machined duralumin level wind cap compatible with the Revo series.
Weight: approx. 0.65g
* The gear box must be disassembled to install this item.
| Compatible Reels
- Revo LTX
- Revo LTZ
- Revo LTZ Limited 7
- Revo Deez 6
- Revo BLACK 9
- Revo LT
- Revo LT 6
- Revo MGX
- Revo ALT
- Revo Elite 7/8
- Revo Elite IB 5/7/ROCKET9
- Revo Power Crank 5/6
- REVO BIGSHOOTER COMPACT
- REVO BIGSHOOTER
- Revo Elite 2
- Revo Elite IB
- Revo Elite Power Crank
- Revo Elite SX (KTF x ENGINE)
- PRO MAX
- SILVER MAX
- BLACK MAX
- SALTY STAGE Revo MJ
- SALTY STAGE Revo SJ
- SALTY STAGE Revo LJ
- SALTY STAGE Revo BJ
- Revo MGXtreme
- Revo 3 Premier
- Revo 3 Rocket
- Revo 3 Inshore
- Revo 3 Winch
- Revo 3 STX
- Revo 3 SX
- Revo 3 S
- Revo 2 IB
- Revo 2 Premier
- Revo 2 Inshore
- Revo 2 Winch
- Revo 2 STX
| How to Install
This guide shows how to remove only the minimum parts required to replace the color parts.
Some parts have a front and a back, so arrange the removed parts neatly on a table.
The basic disassembly procedure is almost the same for all REVO series reels.
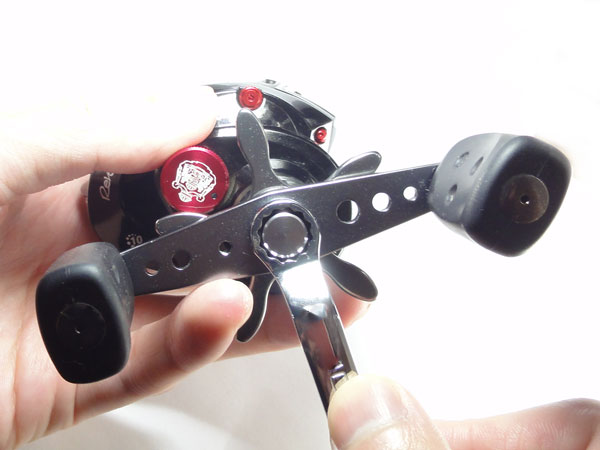
First, remove the handle.
Remove the handle retainer and other parts, then remove the nut using a 10mm wrench.
* The TRUST WRENCH cannot be used on the genuine Abu nut.
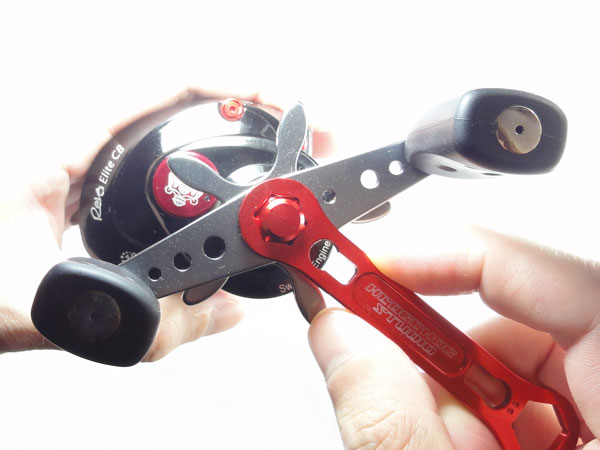
When installing a HEDGEHOG STUDIO lock nut, use the TRUST WRENCH
to tighten it without scratching the nut.
> Click here for the TRUST WRENCH.
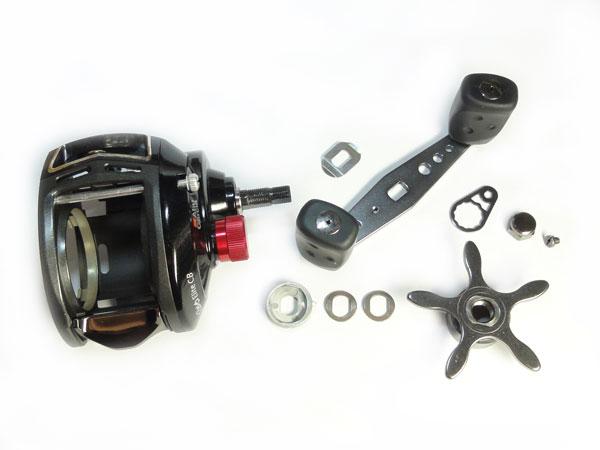
Remove the star drag, side cover and spool.
Arrange the parts while paying attention to which side faces up.
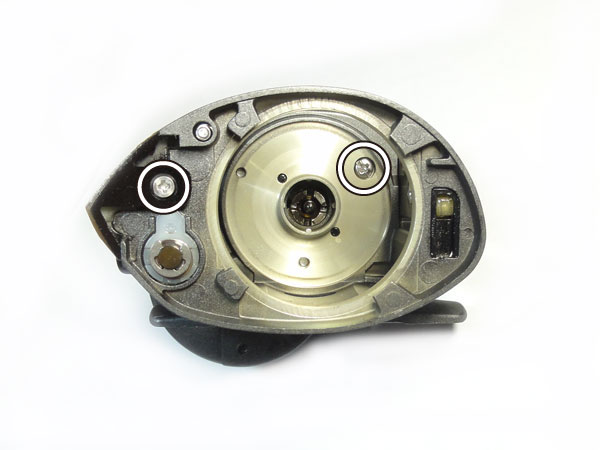
Remove the circled screws on the side cover side.
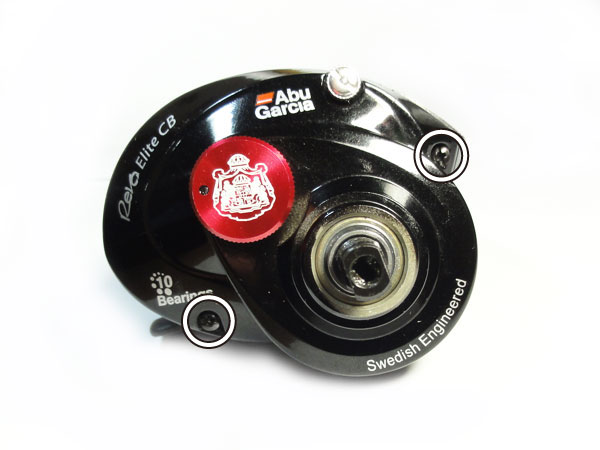
Remove the circled screws on the gear box side.
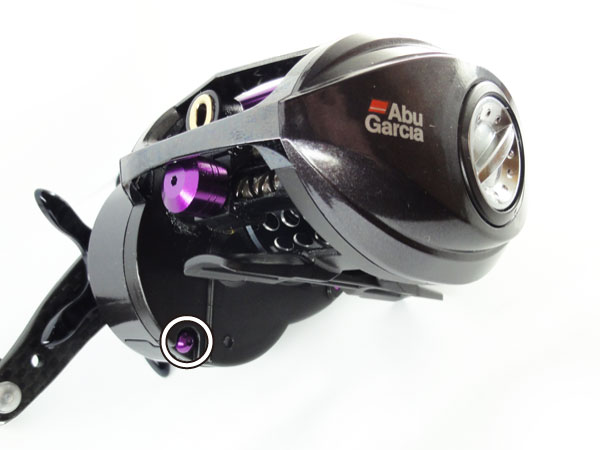
For LTX models, also remove the screw at the bottom of the gear box.
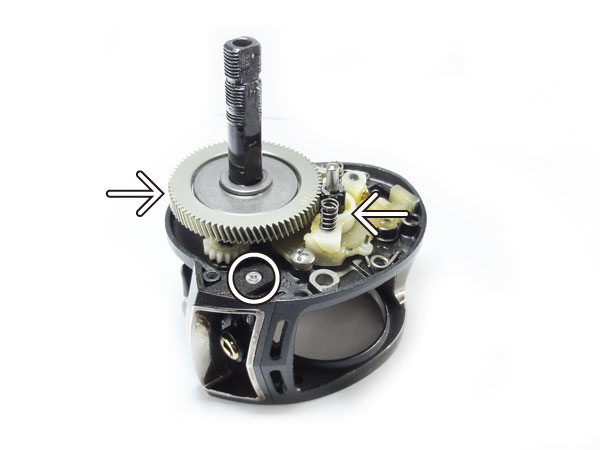
With the gear box facing up, slowly remove the cover and remove the circled screws.
If the gear box faces down at this point,
the parts indicated by the arrows will fall out of the reel, so be very careful.
From here until you have replaced the parts and put the gear box back, keep the gear box from facing down.
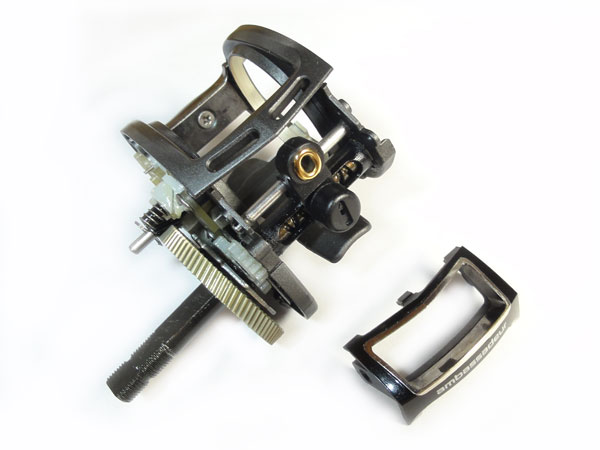
The front cover is now removed.
The gear box is shown on its side in the photo for clarity, but be careful not to tilt it carelessly.
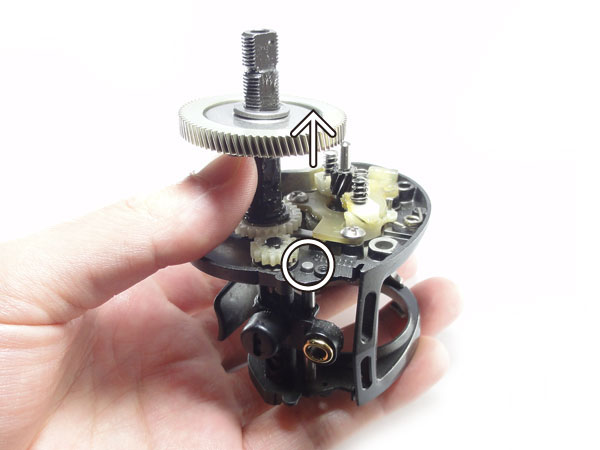
Replace the level wind shaft.
If the shaft catches on the gear and does not come out,
lift the gear slightly to make space, and the shaft can be pulled out.
* For LTX models, more complicated steps such as removing the E-ring are required.
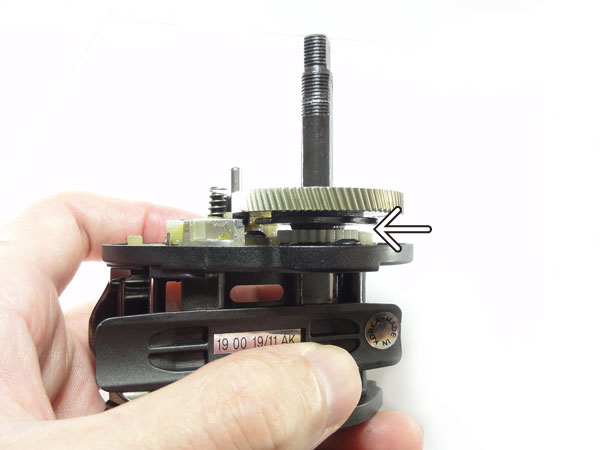
If you lifted the gear, make sure it is properly engaged when you put it back.
Turn the gear lightly and it will click into place at the deepest position.
When it is properly seated, the upper and lower gears indicated by the arrow move together.
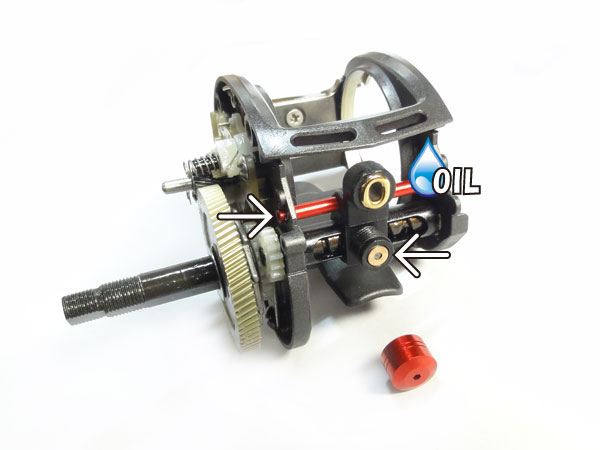
Replace the level wind cap.
Reuse the washer inside the genuine level wind cap.
Apply a small amount of oil to the level wind shaft for smooth movement.
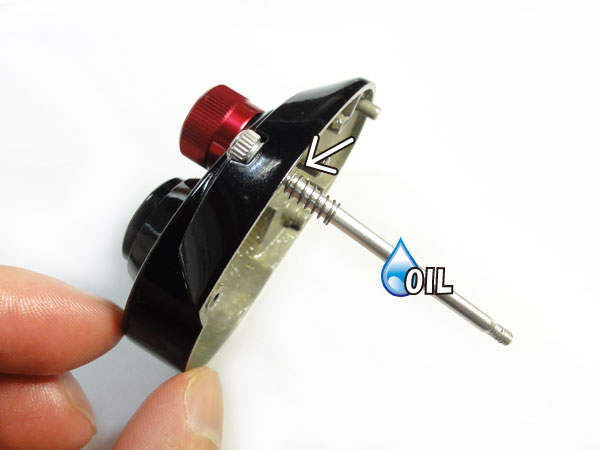
Next, replace the cam lock screw.
Hook the spring indicated by the arrow with a toothpick or similar tool and remove it.
This spring rubs against the screw both when removing and when installing it,
so applying a small amount of oil to the cam lock screw body beforehand makes it slide better
and prevents scratches on the screw.
If the genuine cam lock screw has a washer, reuse the washer as well.
Then simply reassemble the parts in the reverse order.
Some parts are easy to install upside down, so refer to the photos.
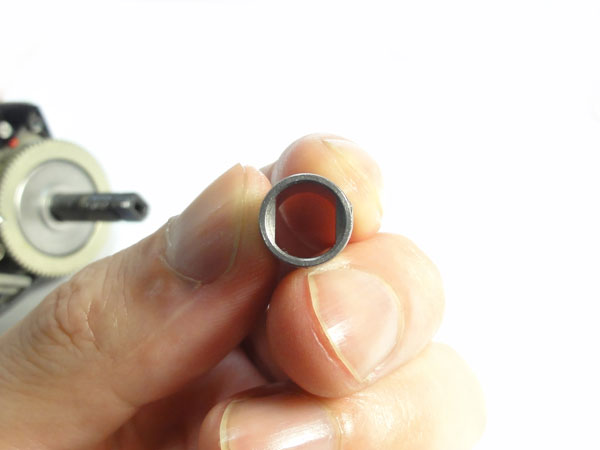
This part is called the IAR sleeve.
The side with the narrower opening faces up (handle side).
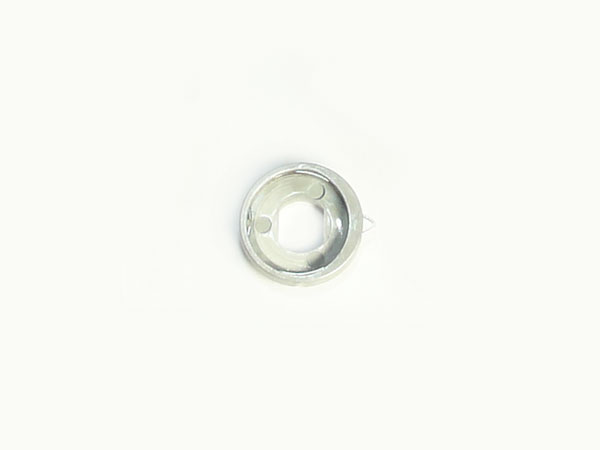
Install the click spring holder with the side shown in the photo facing up (handle side).
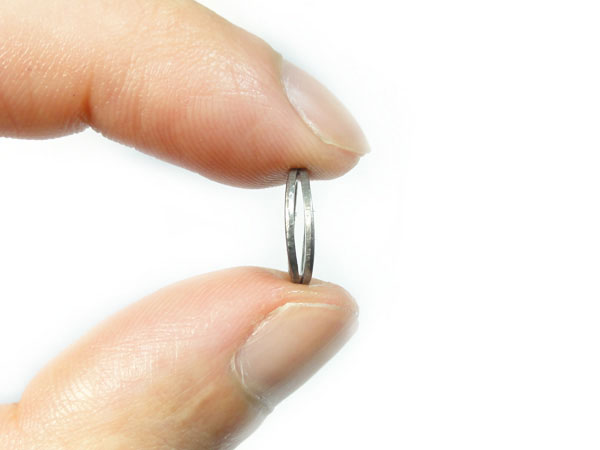
Install the washers inside the star drag so that they face each other as shown in the photo.
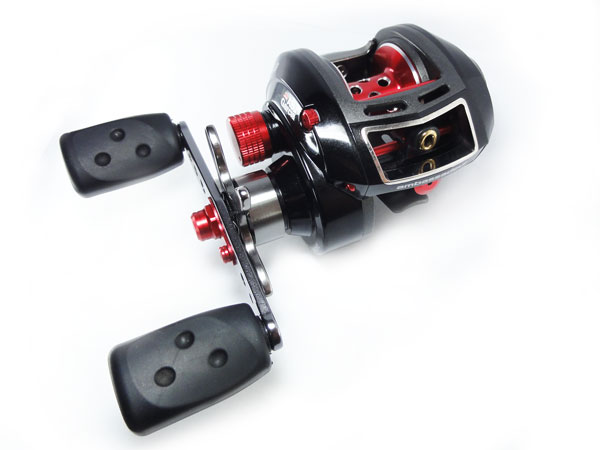
Once all the parts are installed, you are done.